What Determines Shed Cost?
If you’ve started shopping for a shed, you’ve probably noticed the huge range in pricing. A basic garden shed might cost a few thousand dollars, while a large farm or commercial shed can run into six figures. Understanding what drives the cost helps you make smarter decisions.
The main cost factors are:
- Size — the biggest single factor. More square metres = more steel, more concrete, more cost
- Height — taller sheds need heavier columns and larger footings
- Wind rating — cyclone-rated sheds (C1–C4) need heavier steel and more bracing
- Doors and openings — large roller doors add significant cost. More openings = more engineering
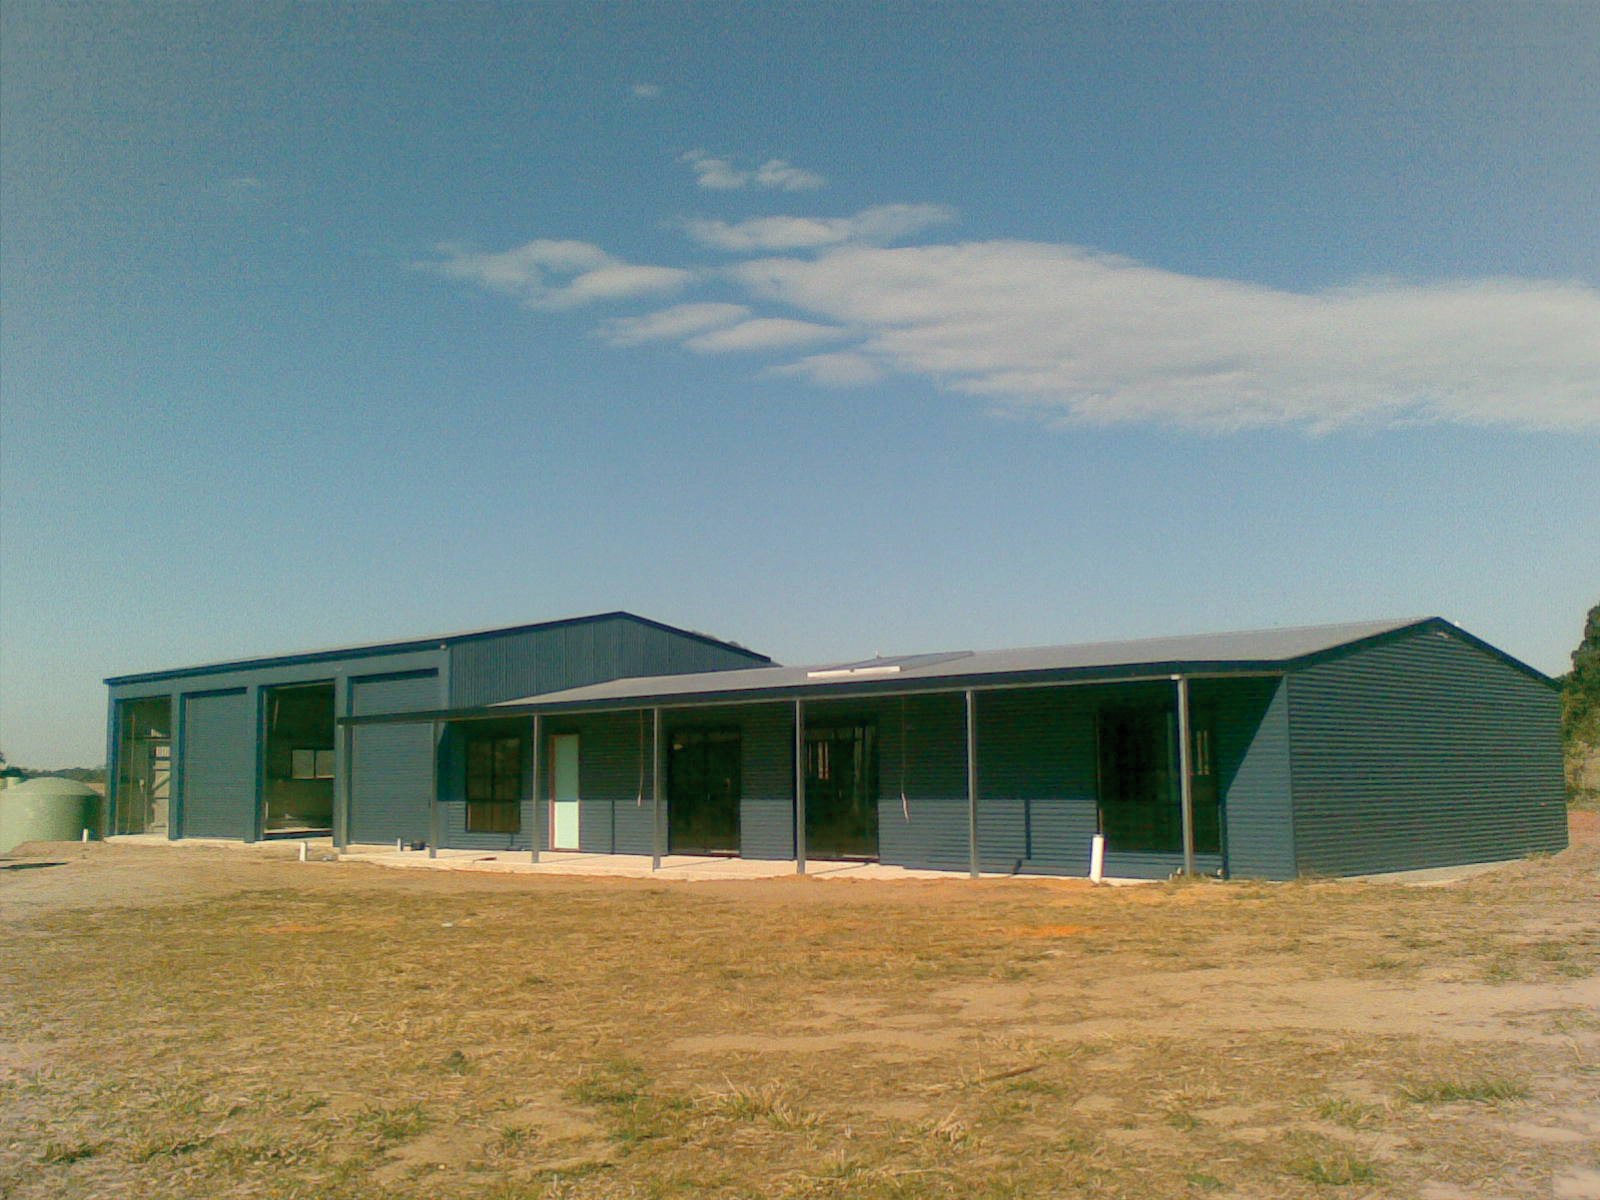
- Complexity — lean-tos, awnings, mezzanines, and non-standard shapes add to the price
- Location — delivery costs vary, and remote sites attract freight premiums
- Finish level — basic shed vs workshop vs livable dwelling
2026 Price Ranges by Shed Type
These are indicative ranges for steel frame shed kits (materials only, not including slab, erection, or fitout). Actual pricing depends on your specific requirements — contact us for an accurate quote.
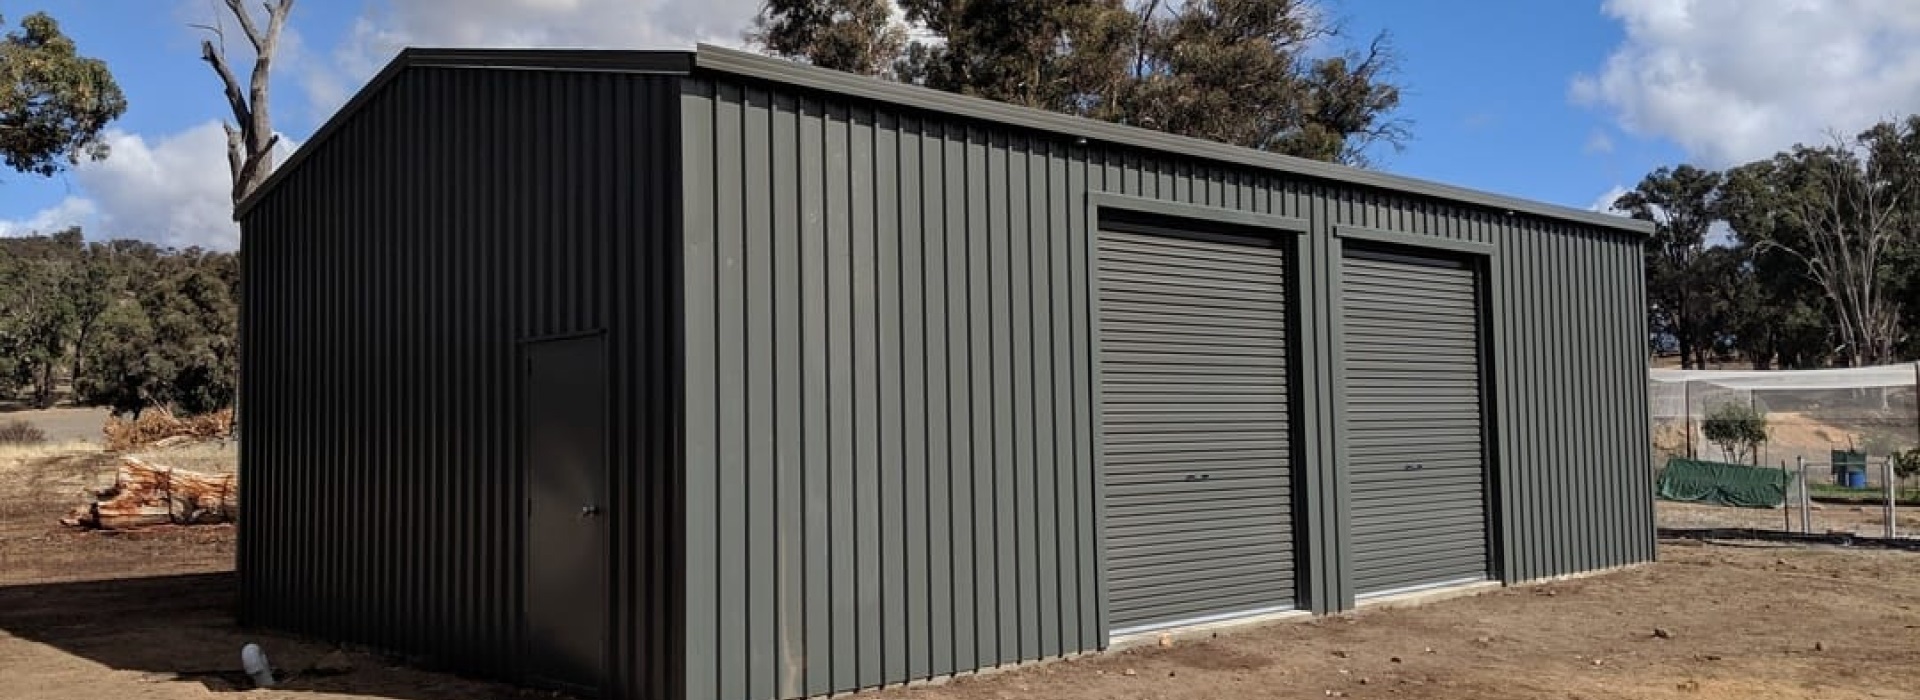
Residential Sheds
Residential sheds include garages, workshops, garden sheds, and backyard storage.
- Single garage (6m x 6m): $4,000–$8,000
- Double garage (6m x 9m): $7,000–$14,000
- Workshop (9m x 12m): $12,000–$22,000
- Large residential (12m x 15m+): $18,000–$35,000
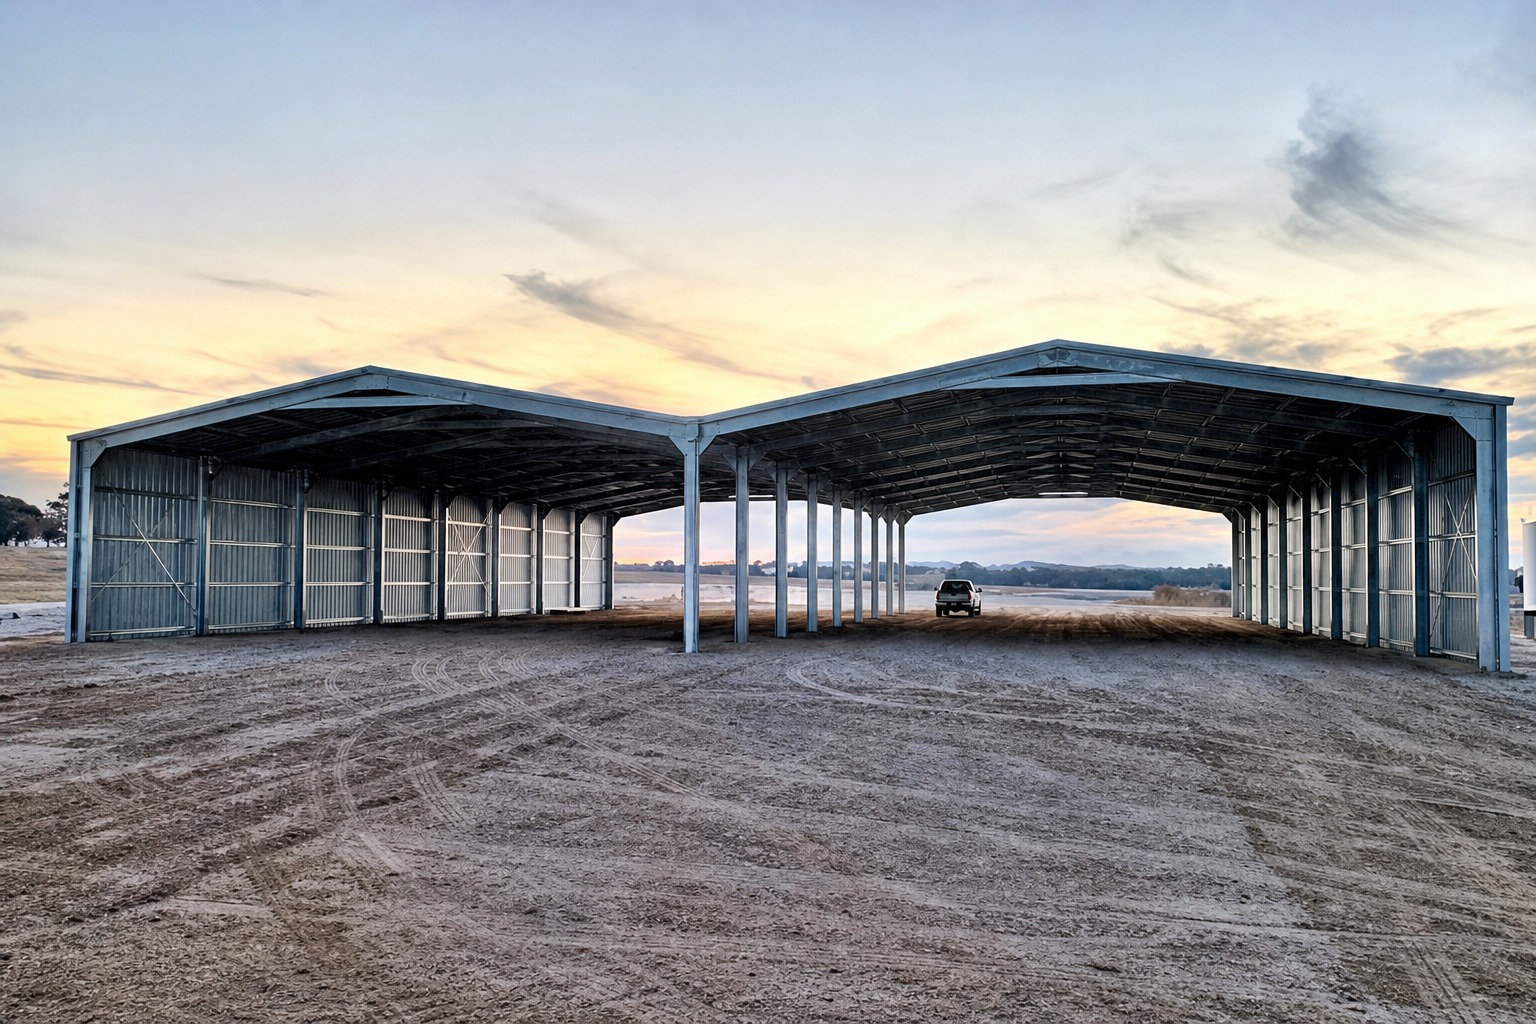
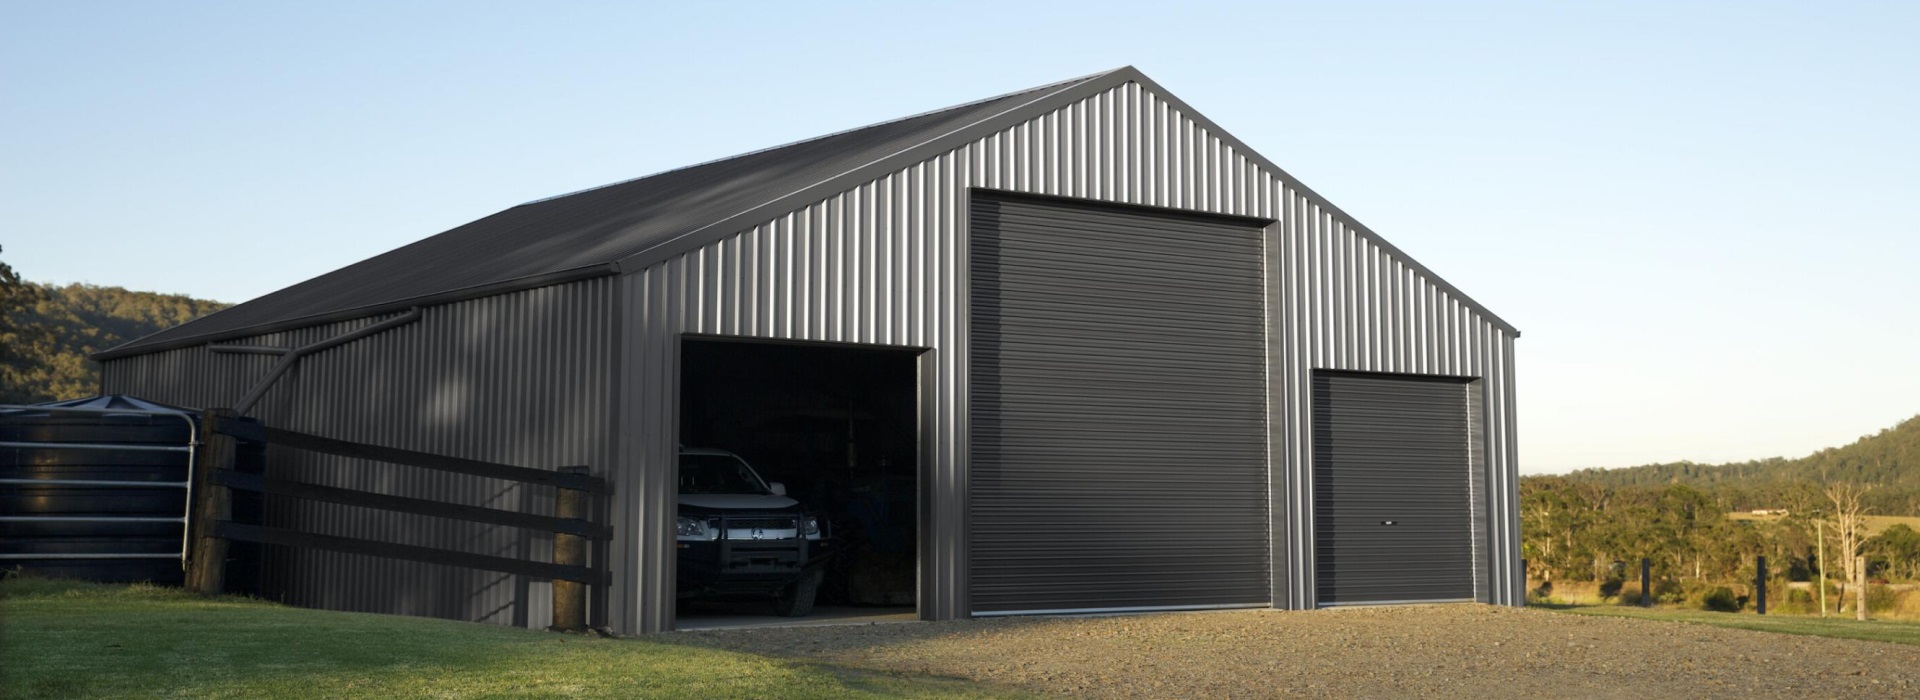
Farm Sheds
Farm sheds are typically larger with wider spans and higher clearances for machinery access.
- Small farm shed (12m x 9m): $12,000–$22,000
- Medium farm shed (18m x 12m): $25,000–$45,000
- Large machinery shed (24m x 18m): $45,000–$80,000
- Hay shed (open front, 18m x 12m): $20,000–$35,000
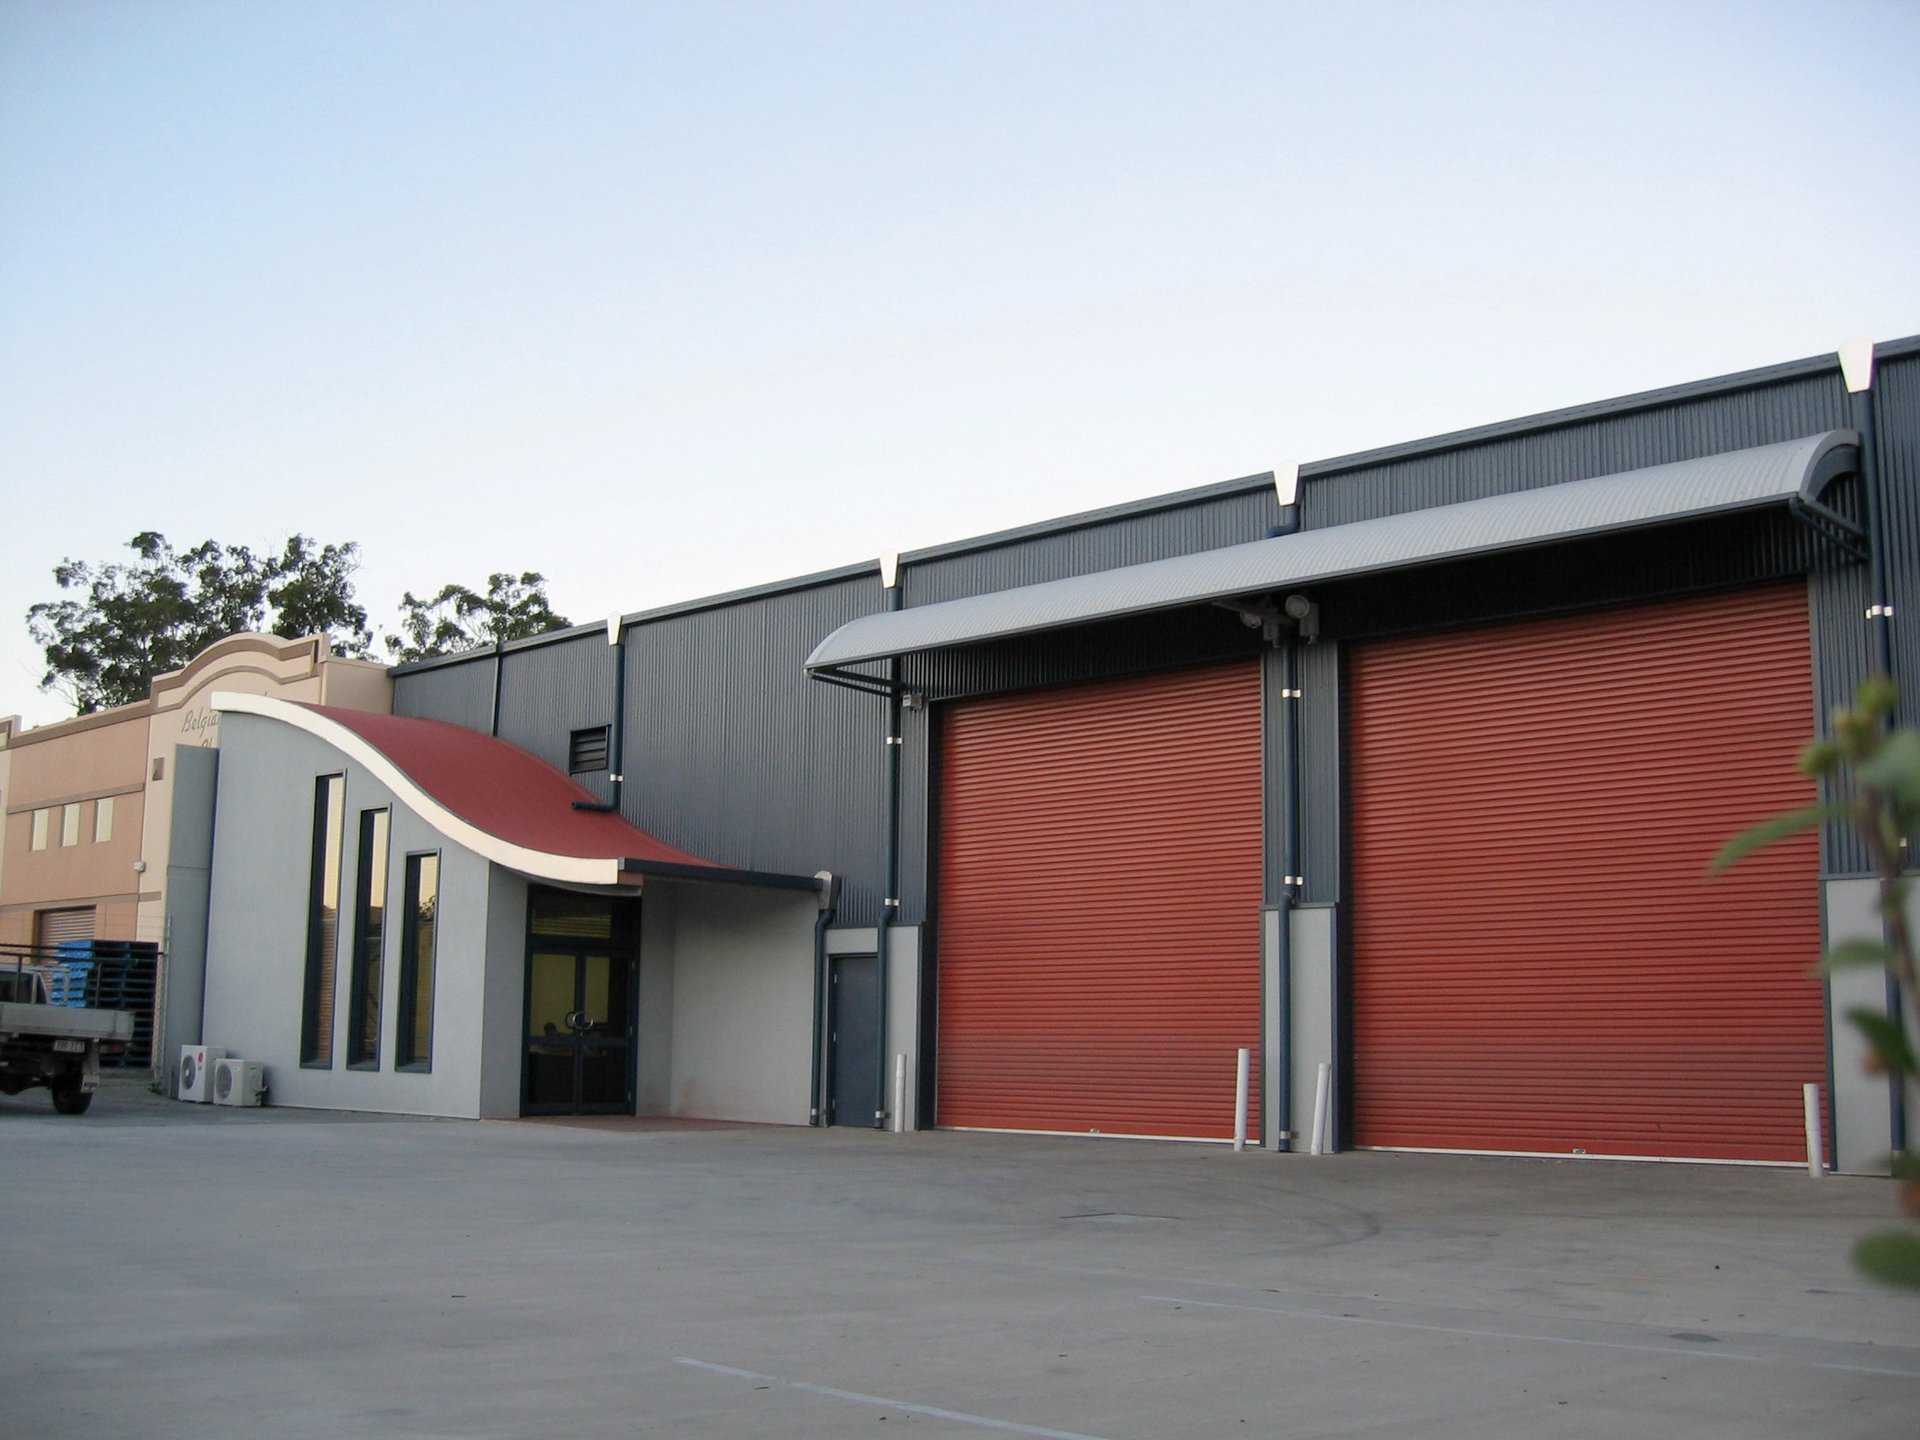
Commercial & Industrial
Commercial and industrial sheds are engineered for heavier loads and larger spans.
- Small warehouse (18m x 15m): $35,000–$60,000
- Medium warehouse (24m x 18m): $55,000–$95,000
- Large industrial (30m+ spans): $80,000–$150,000+
Livable Shed Homes
Livable shed home kits are priced based on the structural package. Fitout is additional.
- Kit only: varies by design — see our shed home models for current pricing
- Total build cost (kit + slab + fitout): typically $1,200–$2,500/m² for a complete livable home
- Owner builder savings: 25–40% compared to a builder-managed project
What’s Included in a Kit Price?
A Shedz kit price includes the complete structural package:
- Steel portal frame (columns, rafters, knee connections)
- Purlins and girts
- COLORBOND® roof and wall sheeting (22 colour options)
- Ridge cap, barge capping, and all flashings
- Doors (roller doors, personal access doors, sliding doors as specified)
- Windows (as specified)
- All structural bolts, brackets, tek screws, and fasteners
- Site-specific engineering drawings (stamped by a registered engineer)
- Delivery to your site
Additional Costs to Budget For
The kit is only part of the total project cost. Budget for:
- Concrete slab or piers: $80–$150/m² (see our foundation guide)
- Erection labour: $15–$40/m² if you’re not erecting it yourself
- Council fees: $500–$3,000 for DA, building permit, and inspections
- Soil test: $300–$800
- Survey: $500–$1,500
- Insulation: $8–$30/m² depending on type (see our insulation guide)
- Electrical: $2,000–$8,000 for power, lights, and GPOs
How to Get the Best Value
- Design smart — standard bay spacings (3m or 4.5m) are more economical than custom spacings
- Consider your door count — every roller door adds cost. Do you need three, or will two do?
- Don’t over-build — a shed engineered for your actual wind zone is cheaper than one over-specified
- Bundle your openings — windows and PAs in the same wall bay share framing
- Owner build if you can — owner builders save the builder margin and control their own timeline
Want an accurate price for your project? Design your shed in 3D and request a quote based on your exact specifications.